
Another long day in the garden. Actually, it’s been a long week in the garden. Last Monday, I had 2.5 yards of loam delivered, and I have been working like a fiend to spread it in my big front garden and in my backyard. I’m trying to get rid of all the moss that grows because of the dampness and shade, and replace it with grass. The backyard now has new loam and grass seed, and in some spots it is growing. I’m hoping the sloping ground in dense shade will manage to put out some grass in response to the loam and the dense shade seed.
Progress on my New Garden Urns
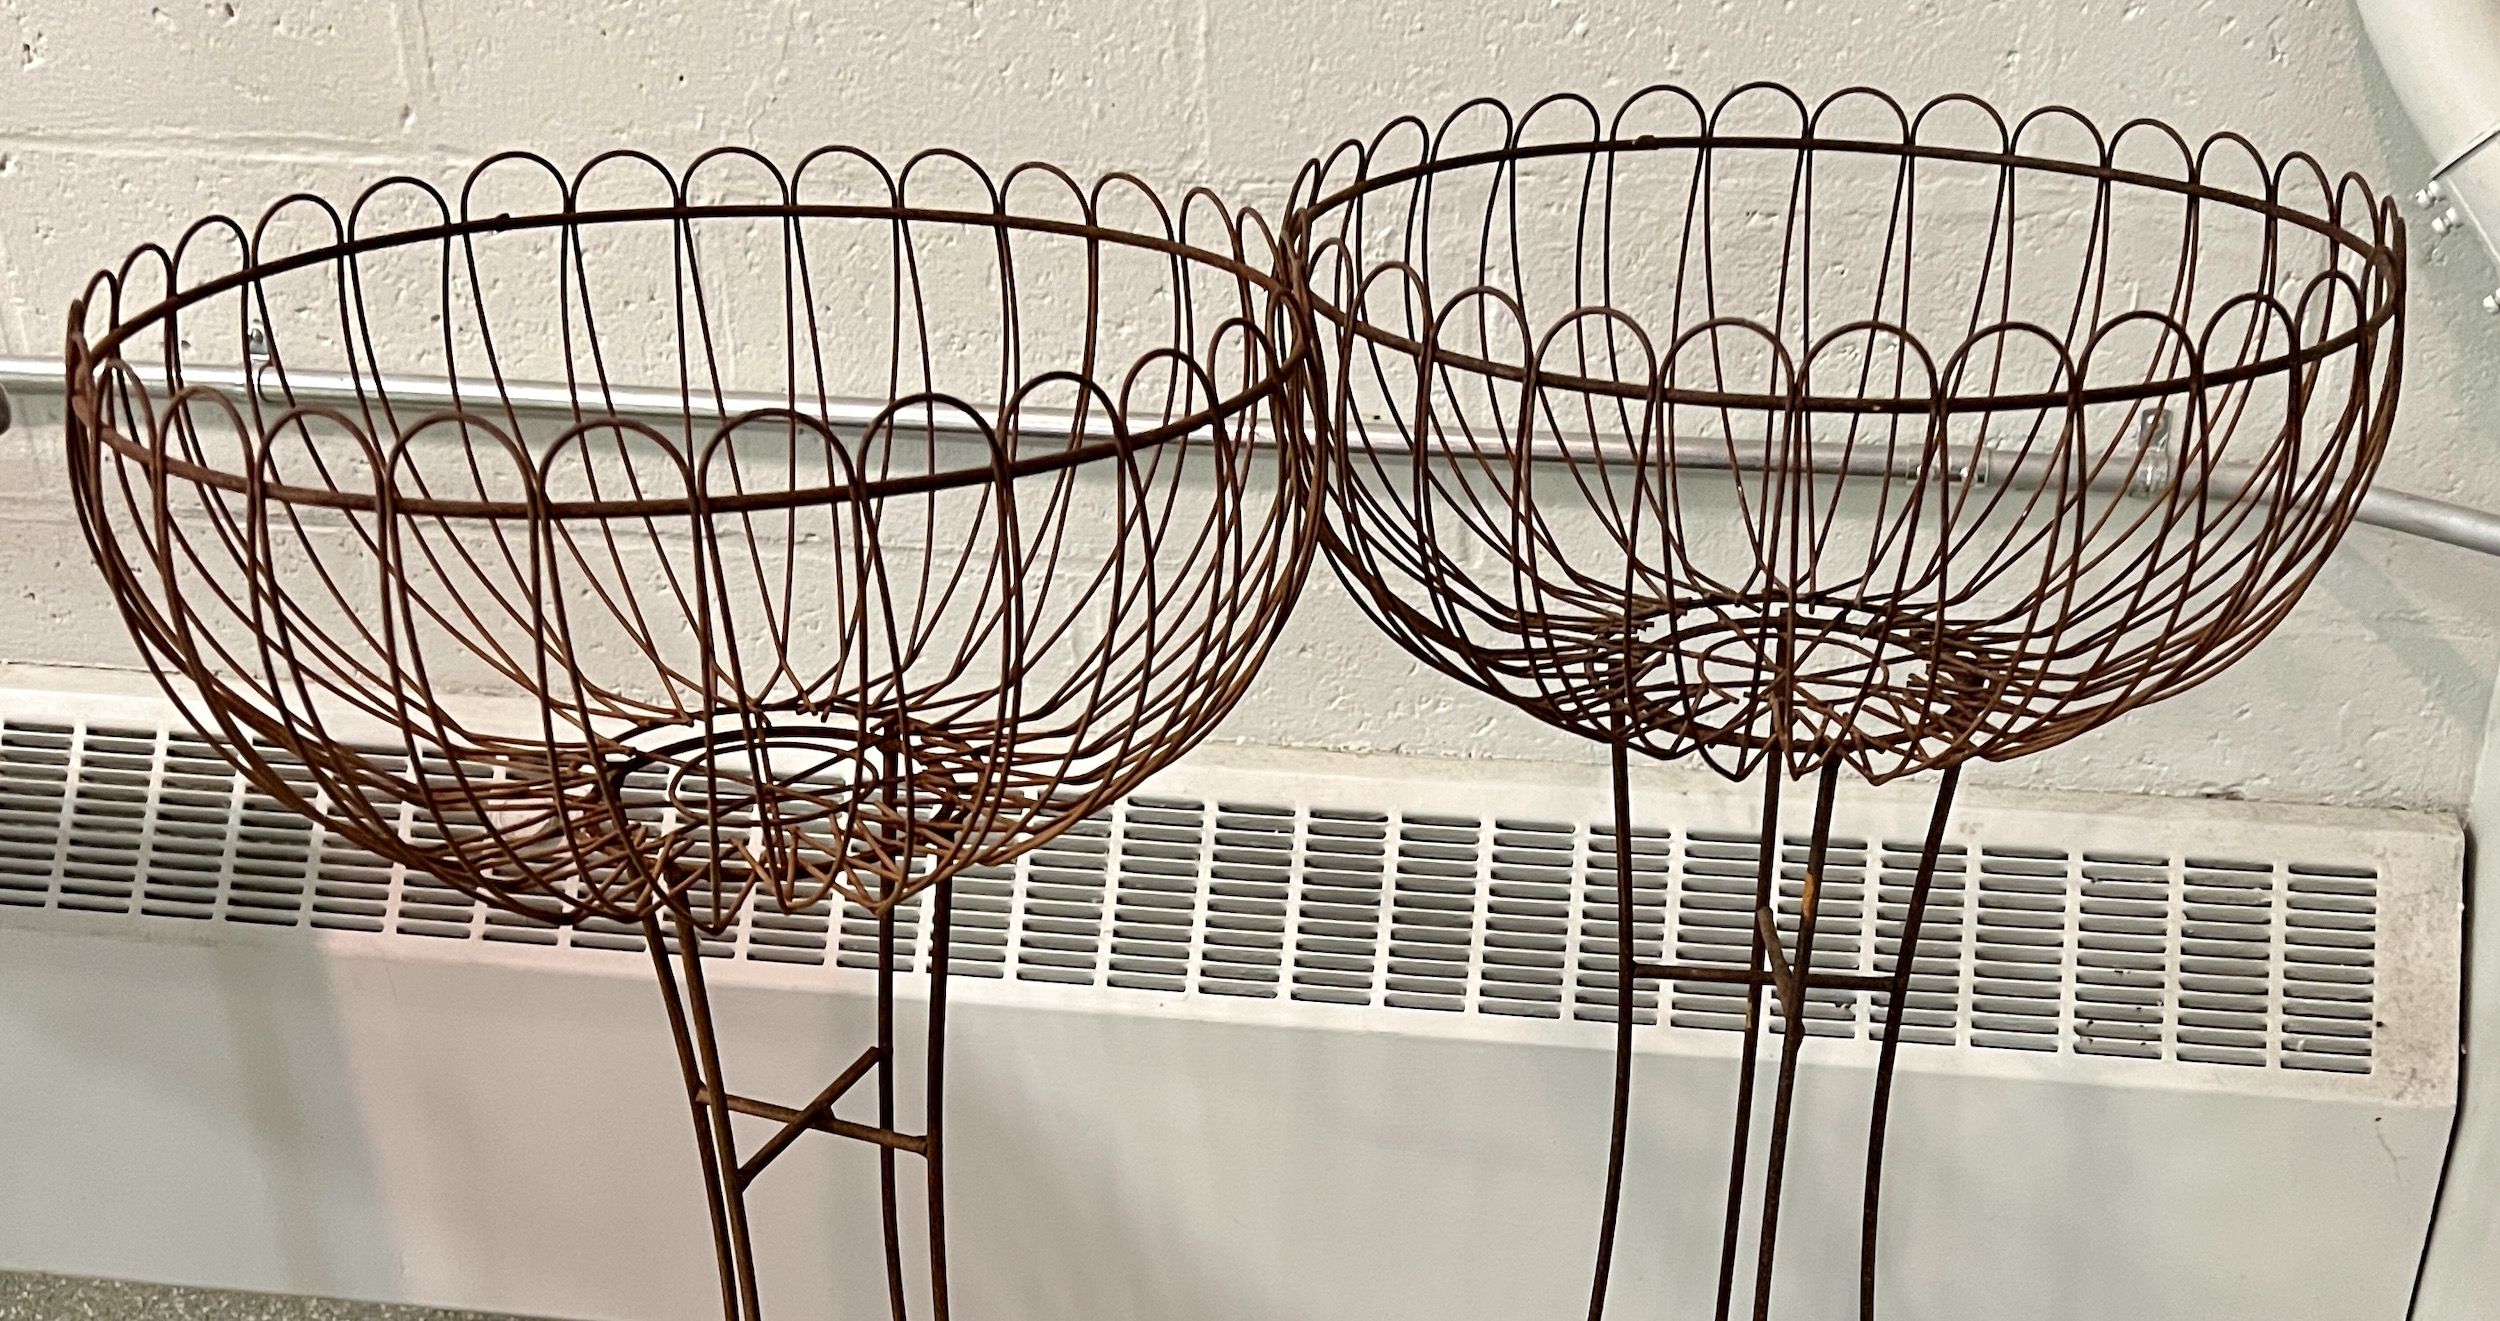
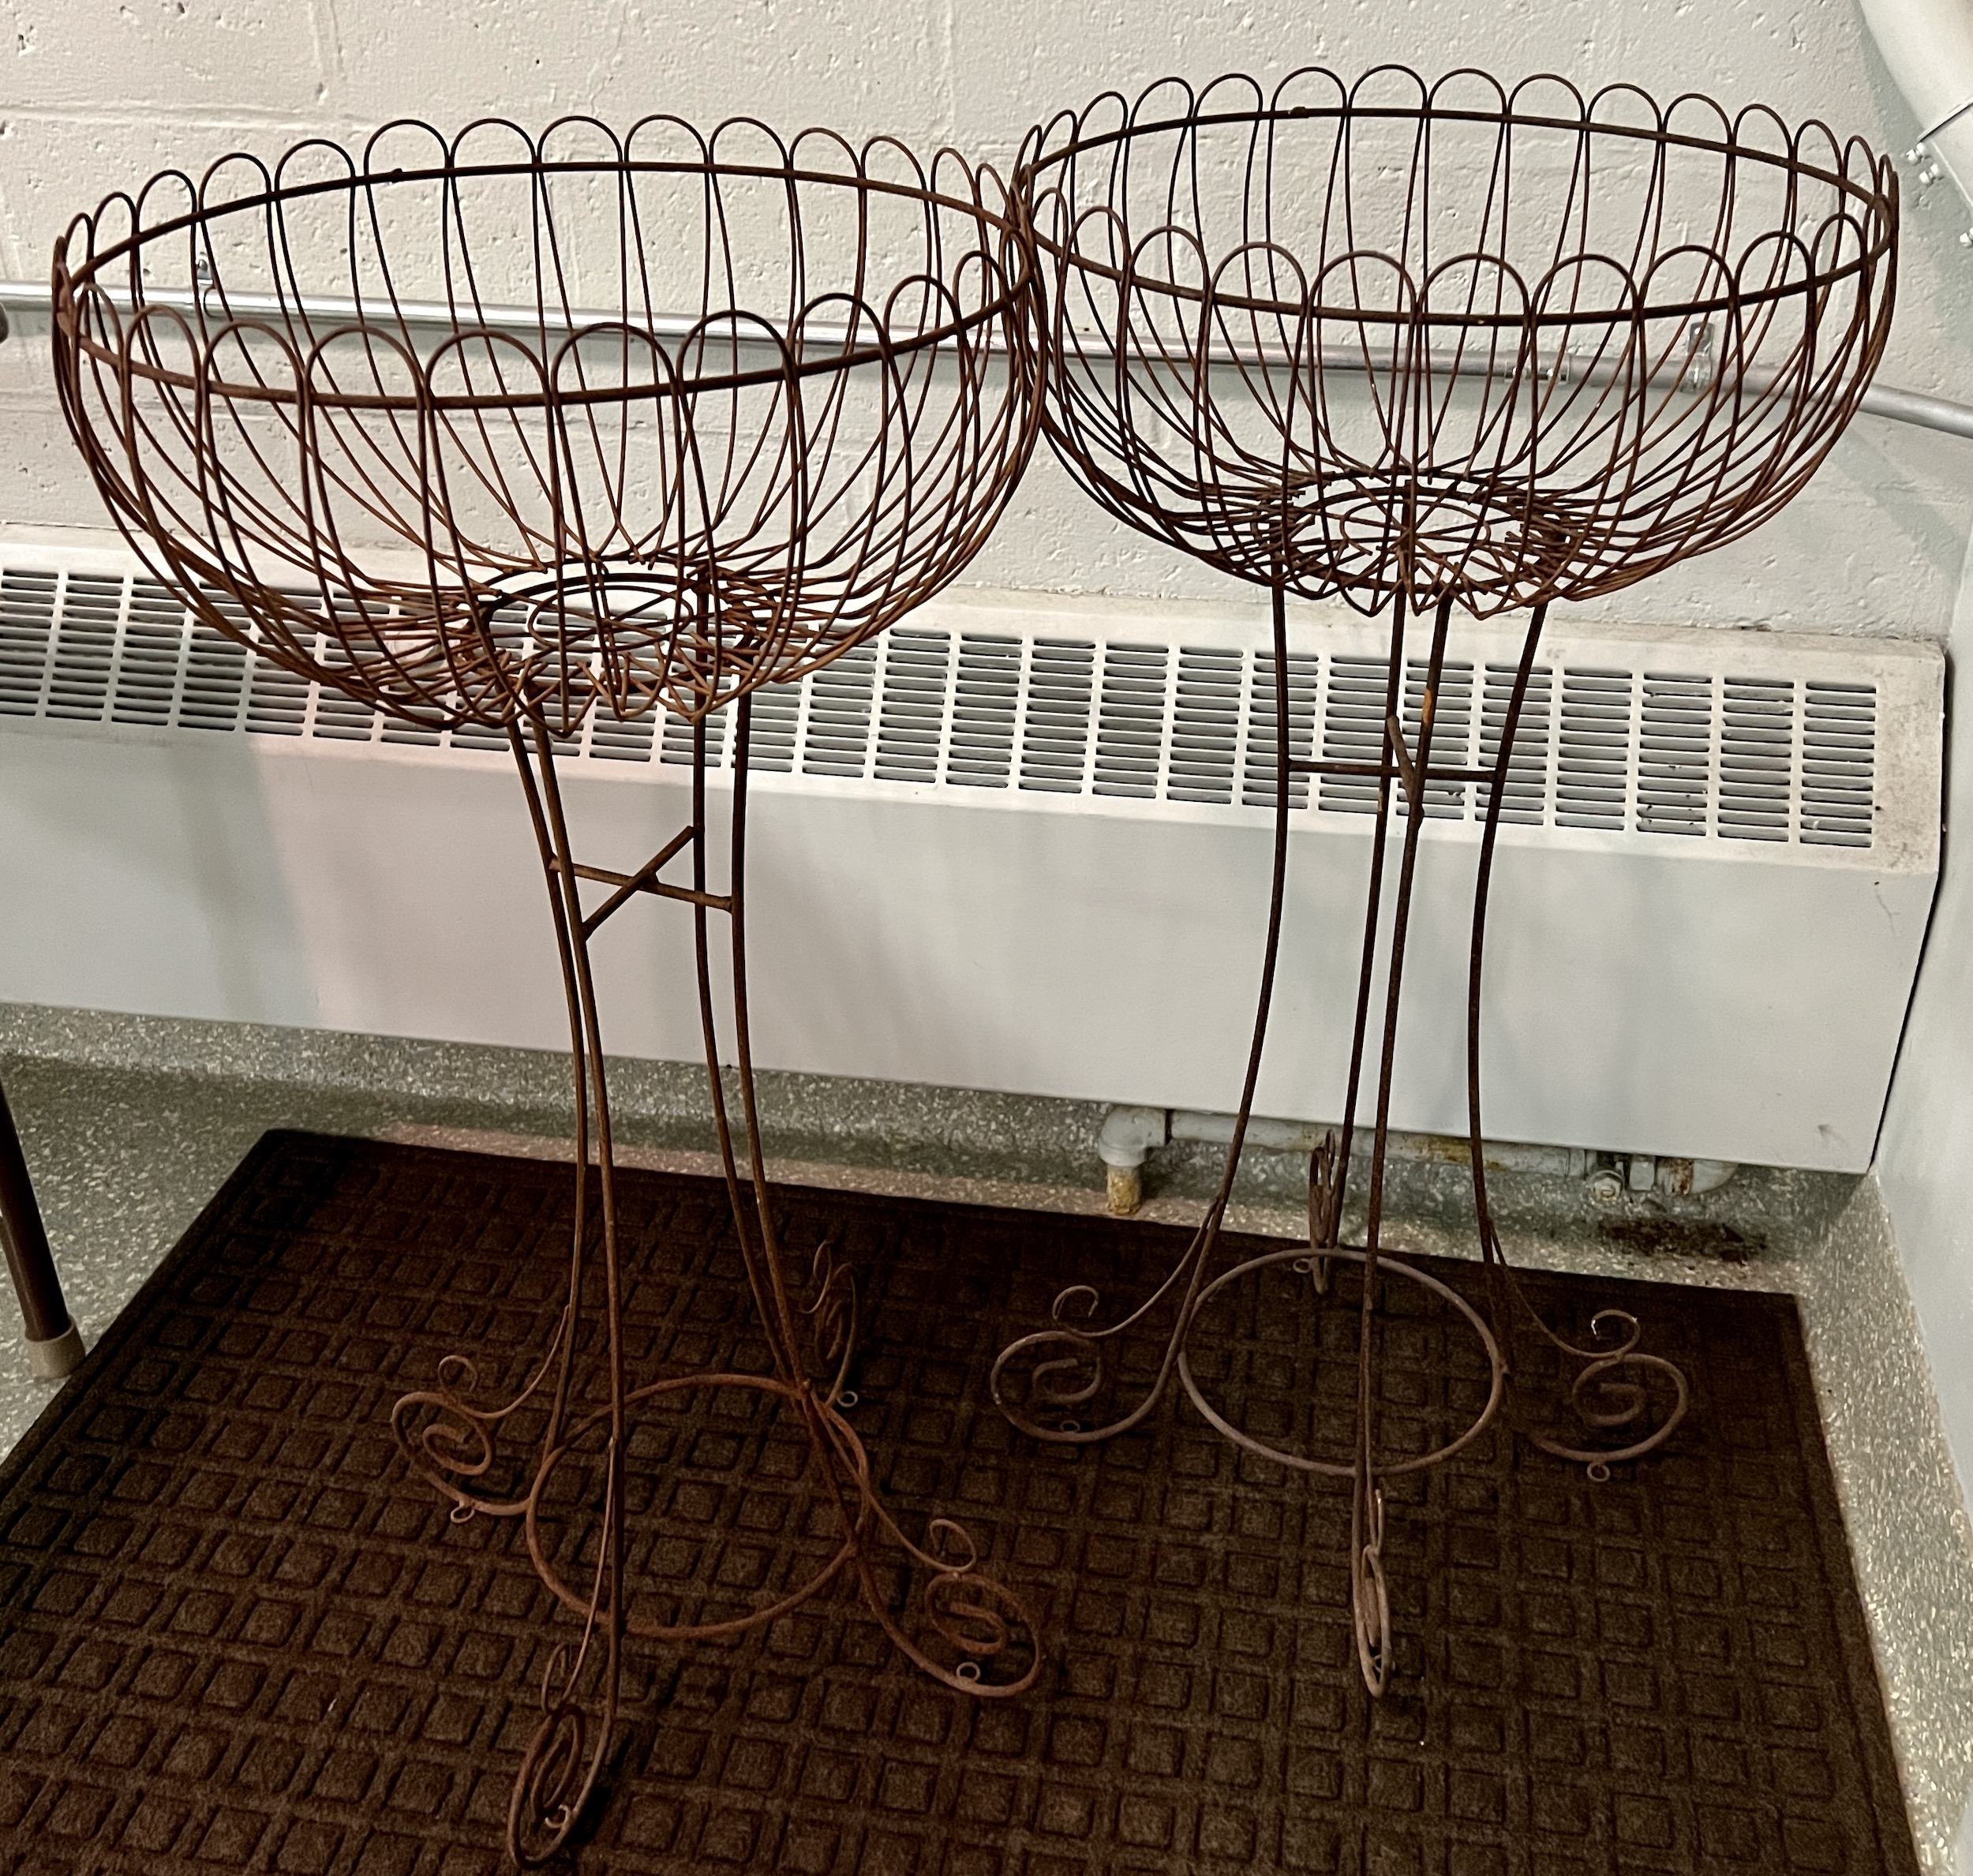
But over the weekend, I took a break from working on the lawn to try to get the rust off of the vintage wire garden urns that I bought at the North Shore Horticultural Society auction last Thursday.
I bought a wire brush and went to work. I scraped off quite a bit of the rust, but the wires were difficult to clean with a wire brush. Fortunately, I save everything, lol, and I had a bag of steel wool pads for sanding. They were perfect for the job. I could see plumes of rust coming off the wires. They became much smoother.
Nevertheless, there was still some powdery rust on the urns even after using the wire brush, the steel wool pads, and rinsing the urns off with the hose. My hands were bright orange with rust dust.
My friend Sue suggested using naval jelly, but I didn’t want to use a chemical with sulfuric and phosphoric acids.
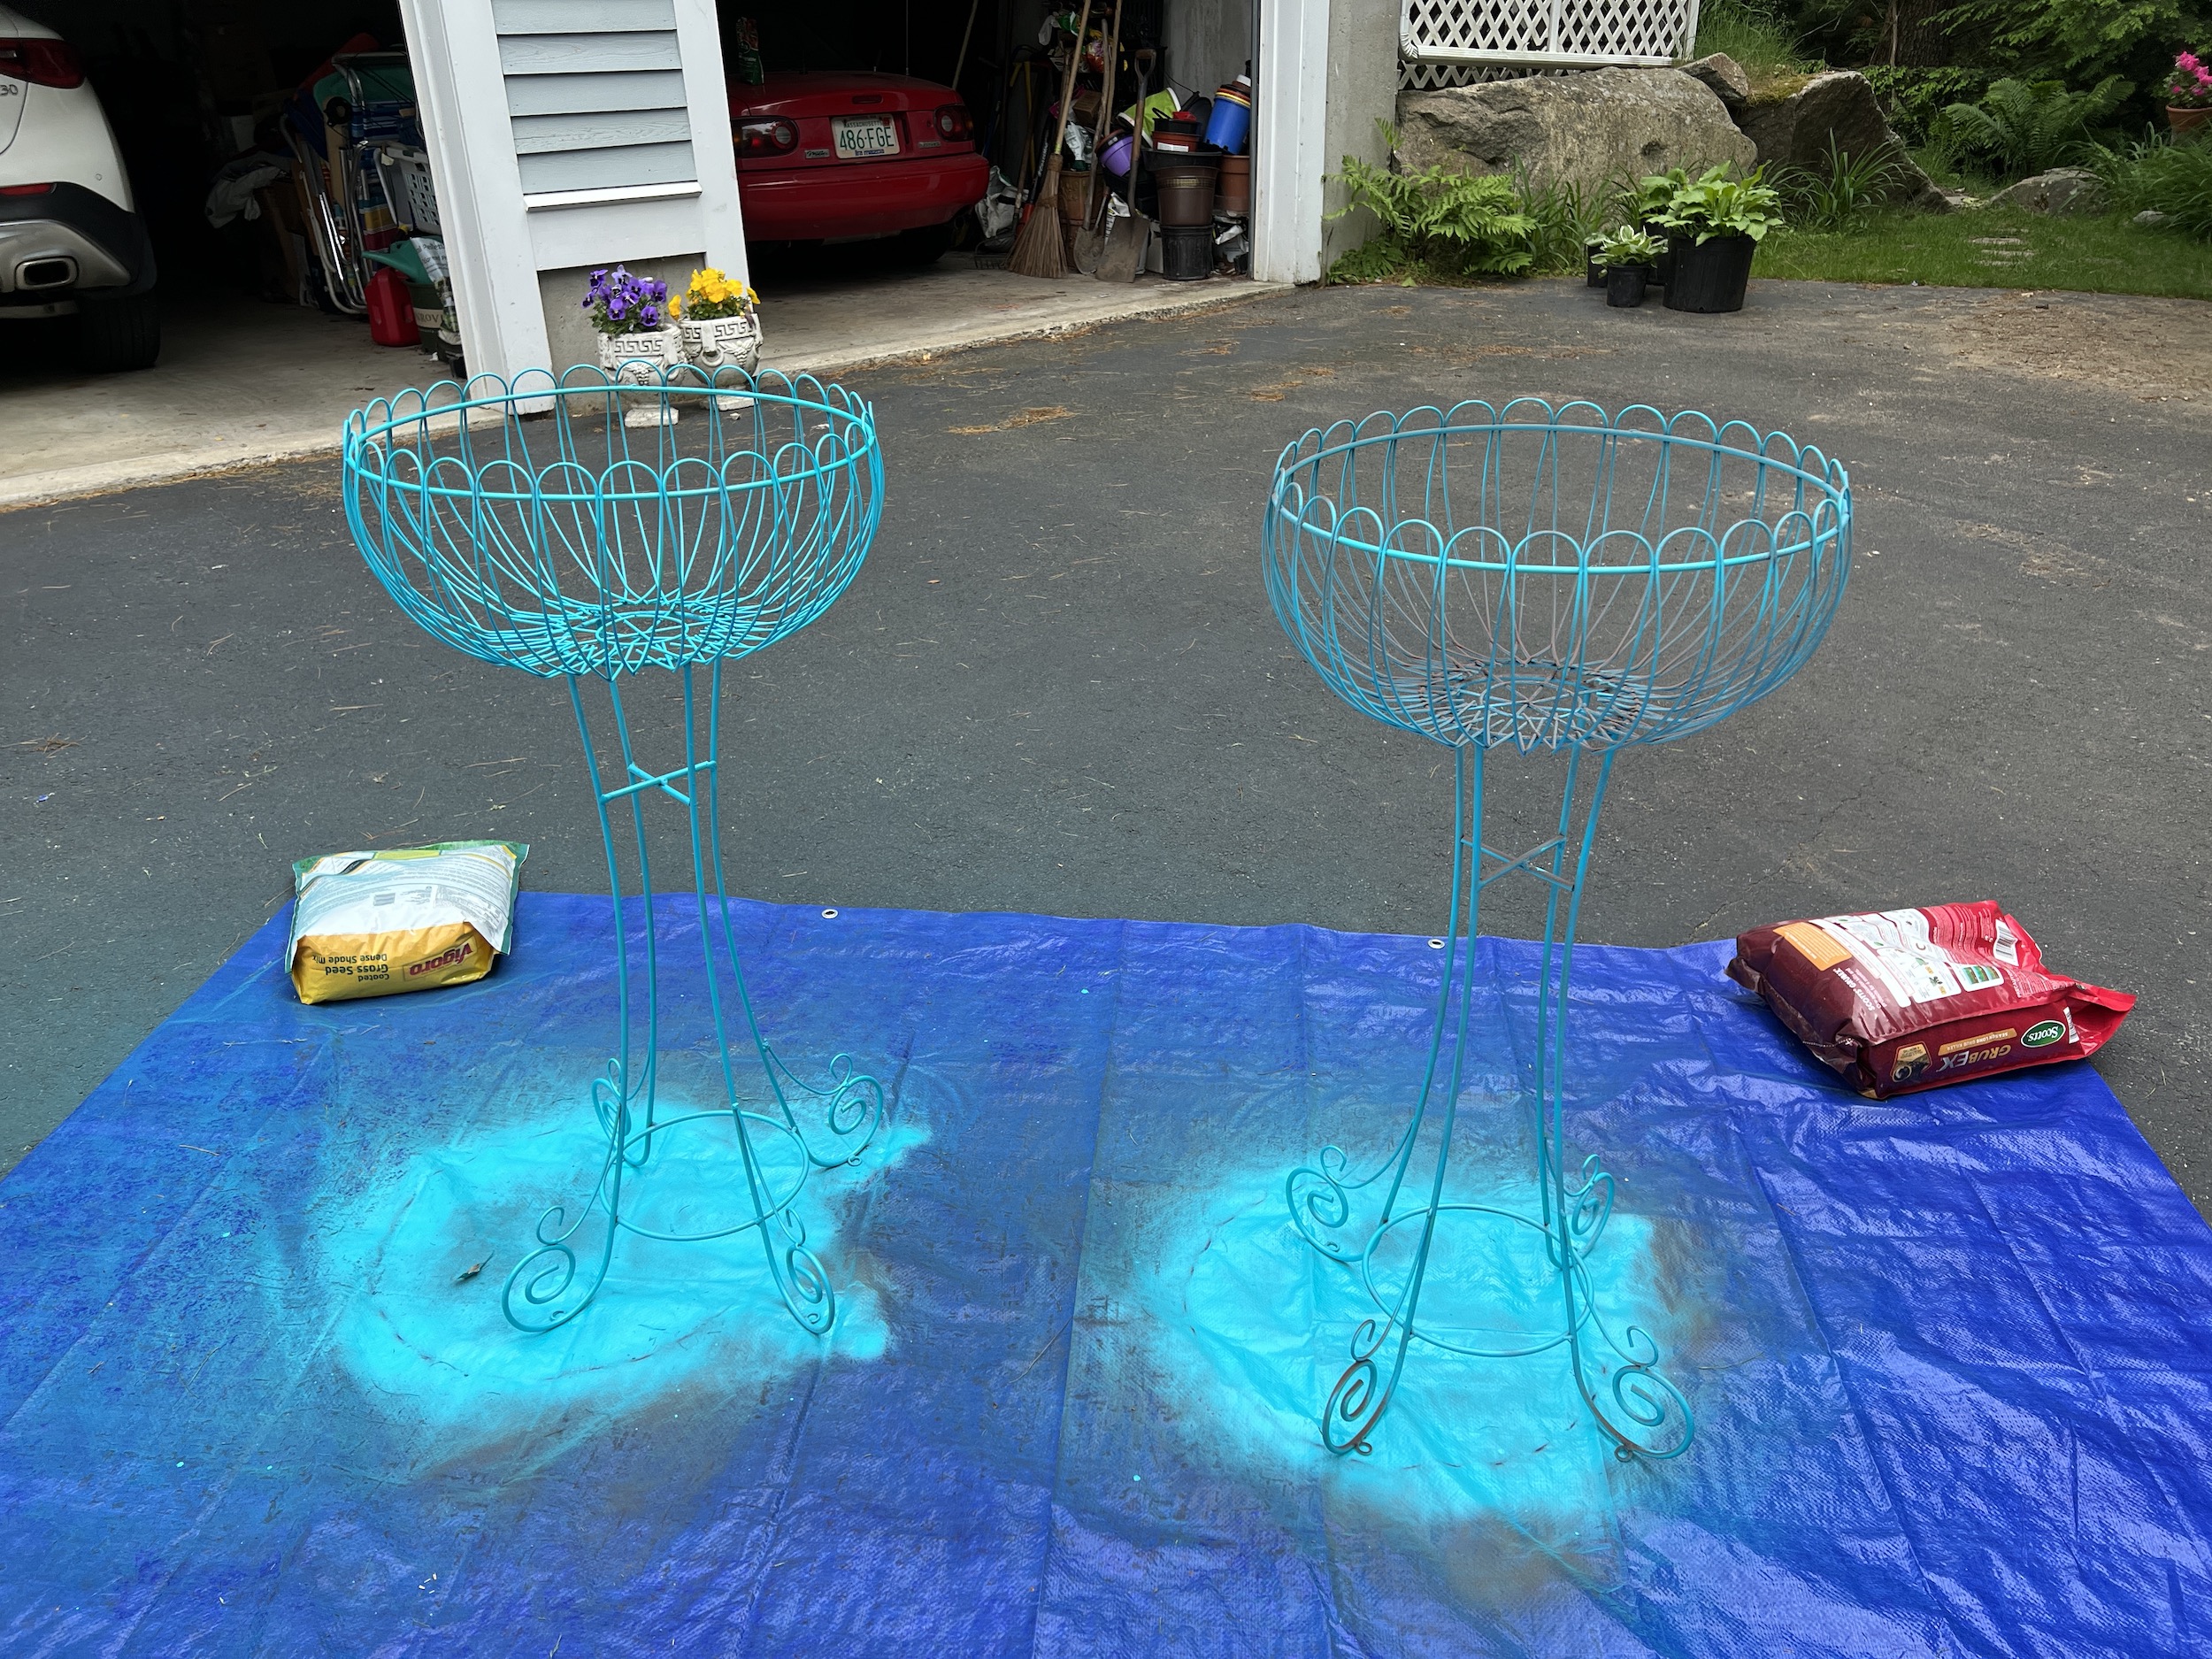
I looked online at the Rust-oleum collection of products, and they have a spray primer that is specially created for rusted metal. It smooths the remaining rust, stops it from continuing to rust, and provides a primer coat for the final paint. Perfect. I headed to Home Depot, and I bought the rust metal primer that was brown colored. I also bought a can of Seaside Gloss Rust-oleum 2x Spray Paint, a lovely, summer-y turquoise.
The rusted metal primer spray was very easy to apply. I applied the first coat, then let it dry for 15 minutes. Then I turned the urns upside down and sprayed the underside. I let that coat dry for 15 minutes. I was amazed that it dried so quickly.
Next, I started applying the Seaside Gloss paint. It was fairly easy to do. There wasn’t any dripping. I thought I finished the first urn, and I started the second one.
Of course, I ran out of paint. I miscalculated. I didn’t think two wire urns would require much paint, but they had a lot of surface area. Actually, I need to check the size of the rusted metal primer can vs. the paint can. I seemed to have a lot of primer left in the can, but I ran out of the paint! I was so eager to get the job done that I went to the local hardware store to buy the second can.
Here are the finished urns. I love them. I think they will coordinate nicely with the navy blue Adirondack chairs.
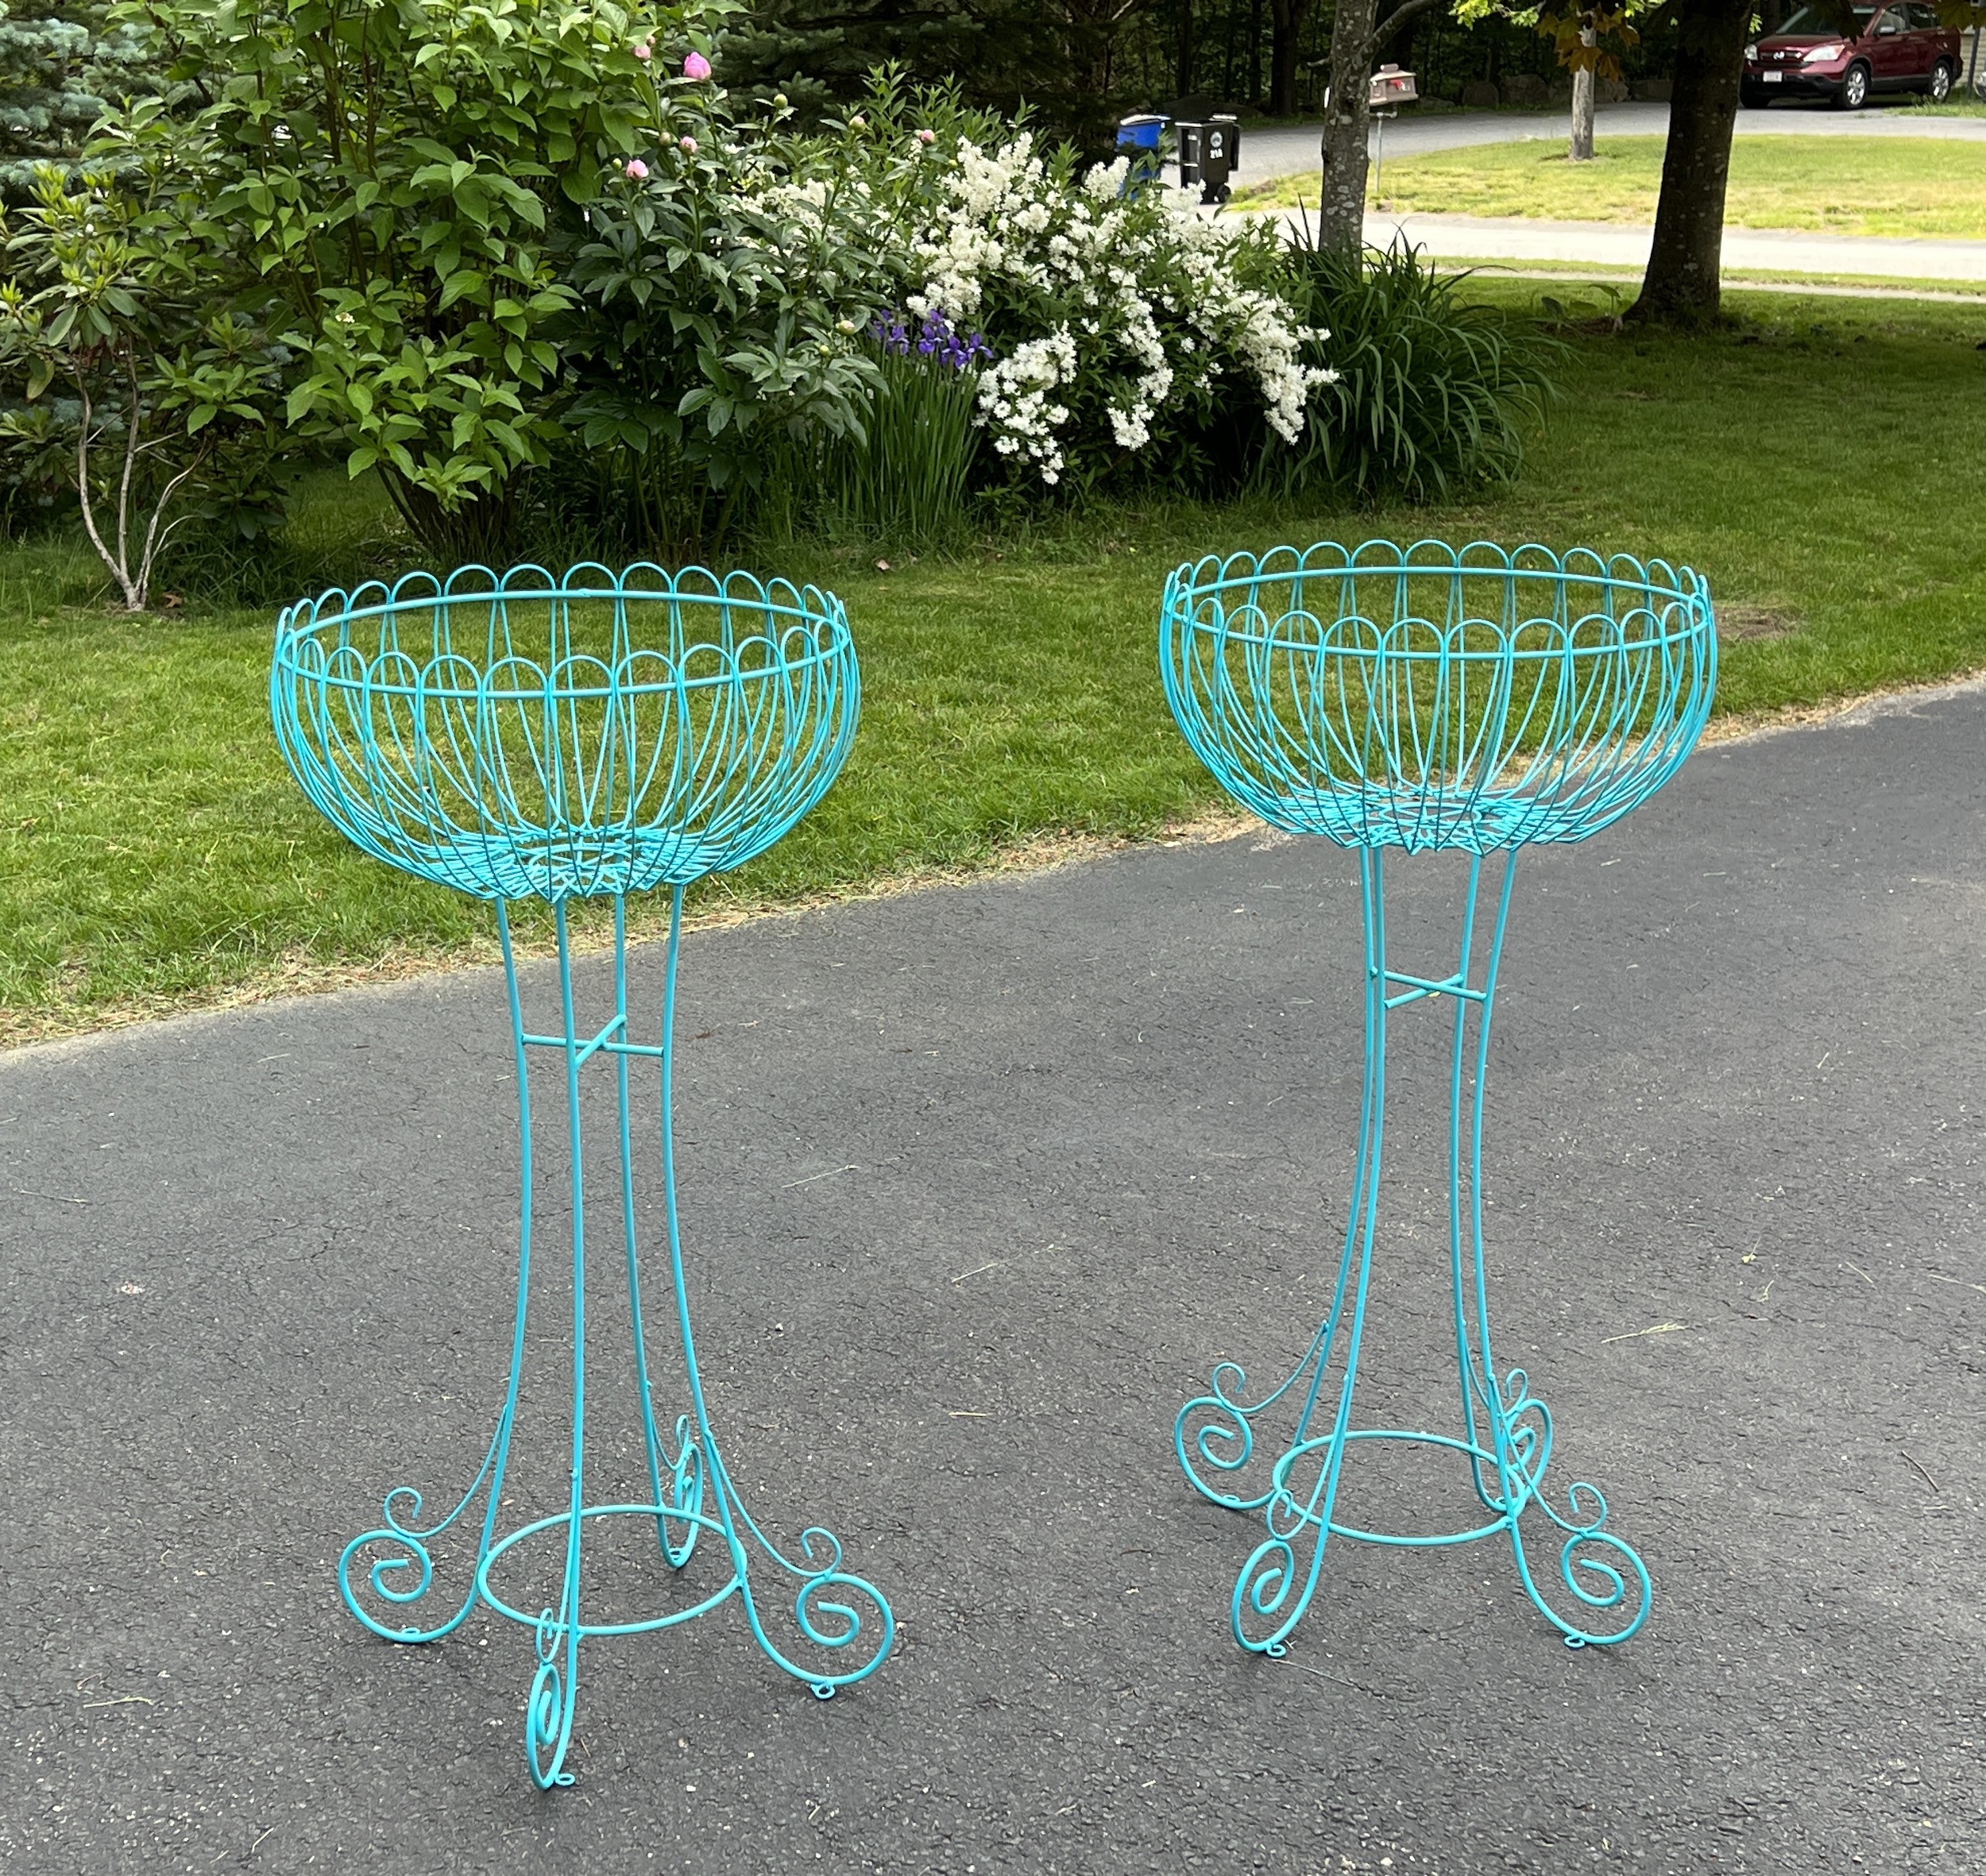
Now, I just need to get a larger coconut fiber liner for one of them. And then the fun part: to fill them up with plants!


Wow, Allison, what a lot of work you’re doing! Your urns turned out beautifully. I have been slowly preparing the front flower bed. Our tulips treated us with spring beauty and are gone now. Hostas and Lily of the Valley and mint are growing (I need those hardy plants, lol.) And now it’s time for my 40th anniversary vacation with my hubby. You are definitely an inspiration. Thanks for sharing your experience with this project – Angie, http://www.yourtrueselfblog.com
Your True Self recently posted…Style Tip: How to Contrast Wrinkled Linen for Visual Interest
Thank you, Angie! I have tons of hostas in the shady parts of my yard, and I am inundated with both white and pink lilies of the valley that just finished blooming. I wish I could have tulips, but the deer eat them so it was daffodils for me. Next up, other perennials and lots of hybrid lilies. I hope you have a fantastic special vacation! I cannot believe you’ve been married 40 years! Hope you’ll post about your trip when you return xo
Those are absolutely gorgeous, Allison! I love the color that you painted them too!
Lola Seicento recently posted…René Furterer 5 Sens Enhancing Dry Oil Review
Thank you! I’m a fan of the aqua shades 🙂
You did a great job and love the color. I can just see them with hanging plants down the sides and some full and bold in the center. good luck finding just the right plants
Thank you, Gloria! I was at a garden center yesterday, and I forgot to look for a second coco liner. Maybe I’ll check Amazon to see if they are any more affordable than Aubuchon Hardware. I am gasping at the $6.49 price tag for annuals this year. I will wait till the prices go down after July 4!!
Those look fabulous and are worth all the hard work you put into them. What a showplace you are creating with your new windows and terrific gardening.
Marcia recently posted…My Revitalized Wire Garden Urns
Those look great. I have a couple of plant stands I was planning to just spray gray. I loove that turquoise though and think I am going to change my plan.
I’m glad, Melissa, that you like the turquoise color too. I think it’s fun to have bright colors in the yard. Share your photo when you’re finished???