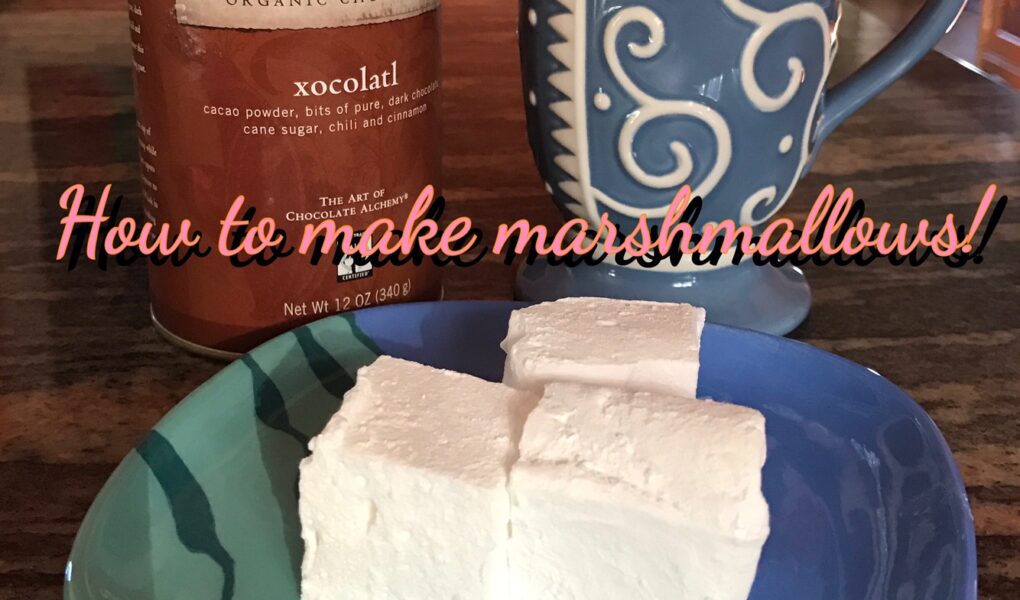
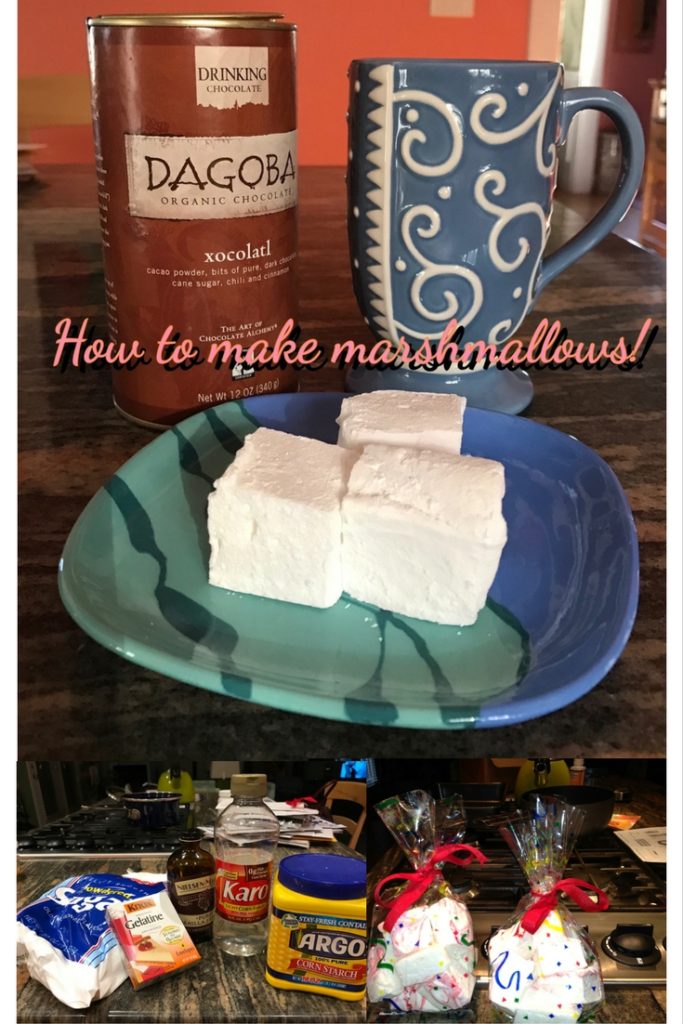
I know, most people probably think why bother to make your own marshmallows when you can buy a big bag at the supermarket. But let me tell you, there is such a difference in the taste and the consistency of homemade versus store-bought marshmallows. They are two different creatures. And once you’ve had homemade marshmallows, you’ll never buy them at the supermarket again…unless you’re making s’mores and then it doesn’t matter. But if you want a delectable cloud like snack, charming gift, or the best possible marshmallows for hot chocolate, these are it!
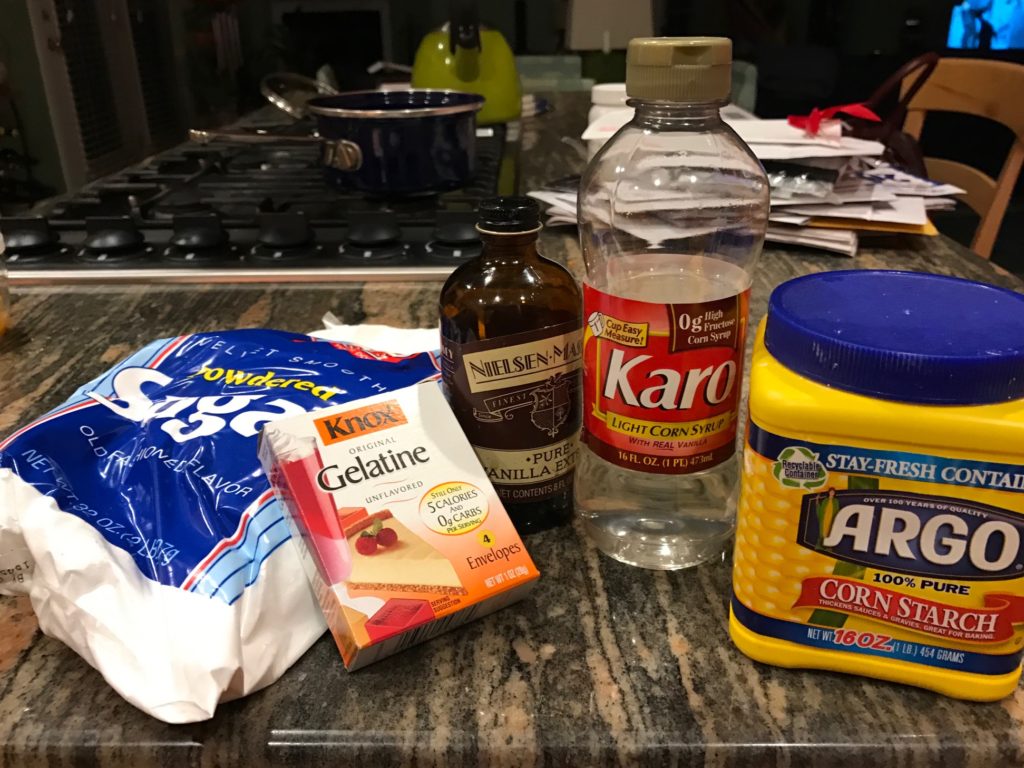
Marshmallows aren’t hard to make, but there are a few steps. And it makes sense to get everything you need to make them together before you start. Some of the ingredients, like gelatin, light corn syrup and confectioner’s sugar, you may not have around the house, so you do need to plan in advance. You also need a candy thermometer – I bought an inexpensive one at A.C. Moore. I use my KitchenAid stand mixer to make the marshmallows. If you don’t have one, electric beaters can certainly be used instead.
Place 3 packets of gelatin in the bowl of a stand mixer or in a mixing bowl with 1/2 cup of ice water. You do this so the gelatin can “bloom” or get activated.
In a small sauce pan, combine 1/2 cup of ice water, 1 and 1/2 cups of granulated sugar, 1 cup of light corn syrup, 1/4 teaspoon of kosher salt. Turn the heat to medium, cover and let it cook for 3-4 minutes. Then, take off the cover, clip the candy thermometer onto the side of the pan and cook till the thermometer registers 240 degrees F. This could take about 7-8 minutes. Once it reaches 240, shut off the heat.
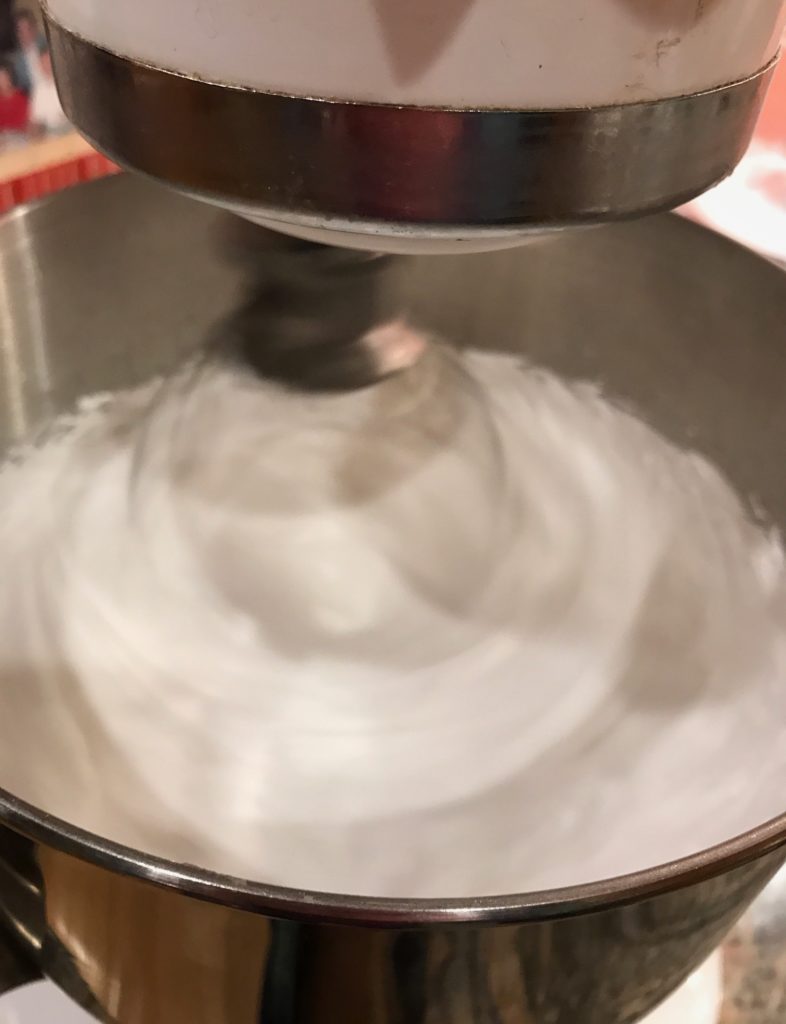
Turn your mixer to low, and add the mixture from the saucepan by pouring it down the side of the mixing bowl. Once added, turn the mixer to high and beat for about 12-15 minutes till the mixture thickens, cools a bit, and starts to look like marshmallow fluff. Mine whipped up quite quickly, but I left the mixer on for 12 minutes. A minute before you shut off the mixer, add 1 teaspoon of vanilla.
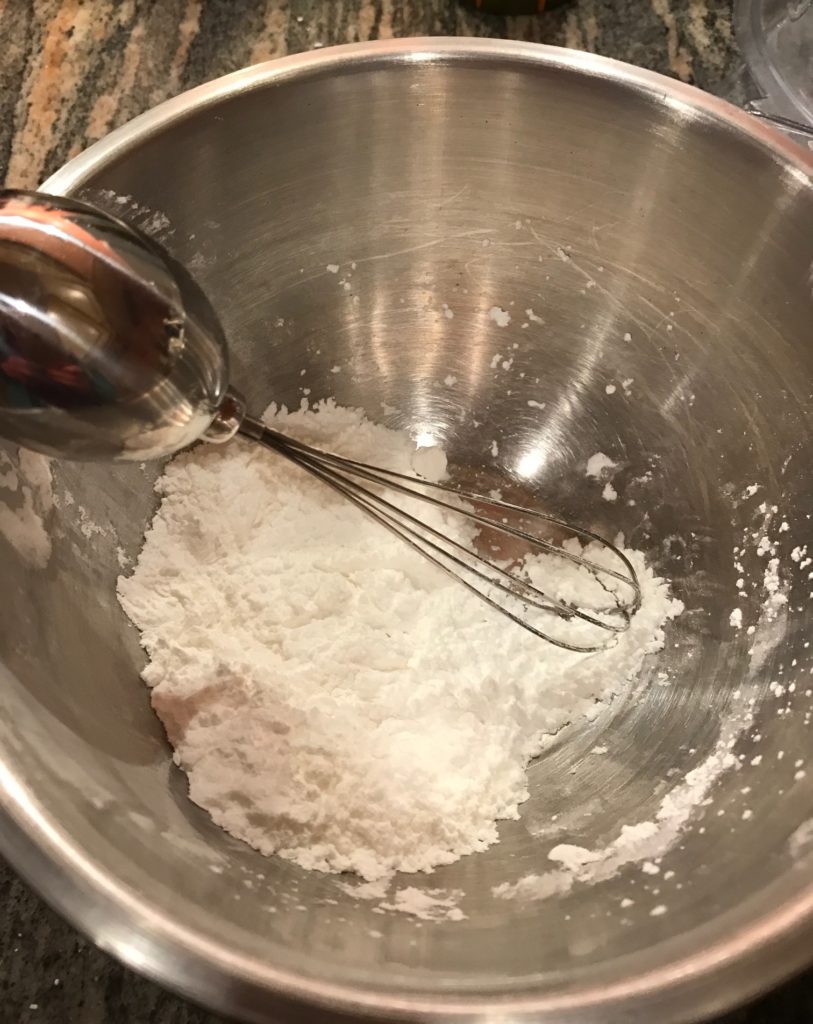
While the mixture is being beaten as above, prepare the pan. Whisk together 1/4 cup each of confectioner’s sugar and cornstarch.
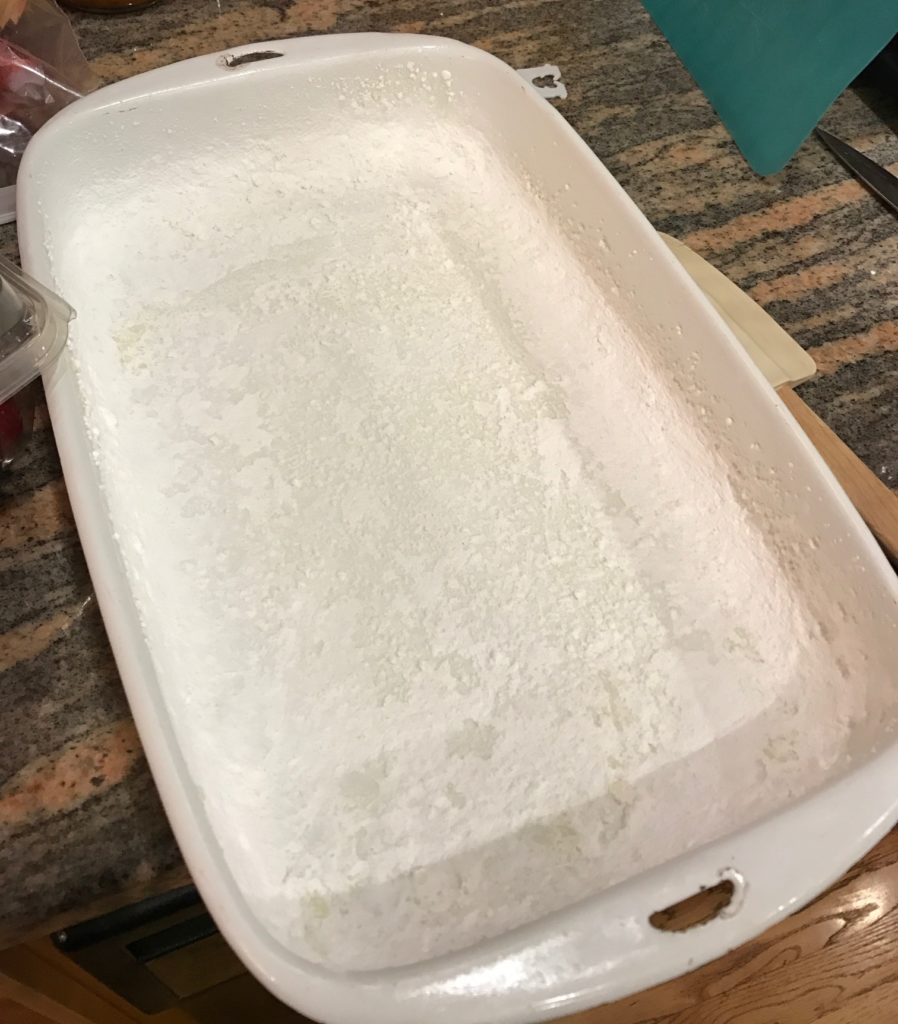
Spray a 13 x 9 inch metal baking pan with cooking spray and then add about half of the confectioner’s sugar/cornstarch mixture to coat the bottom and sides of the baking pan.
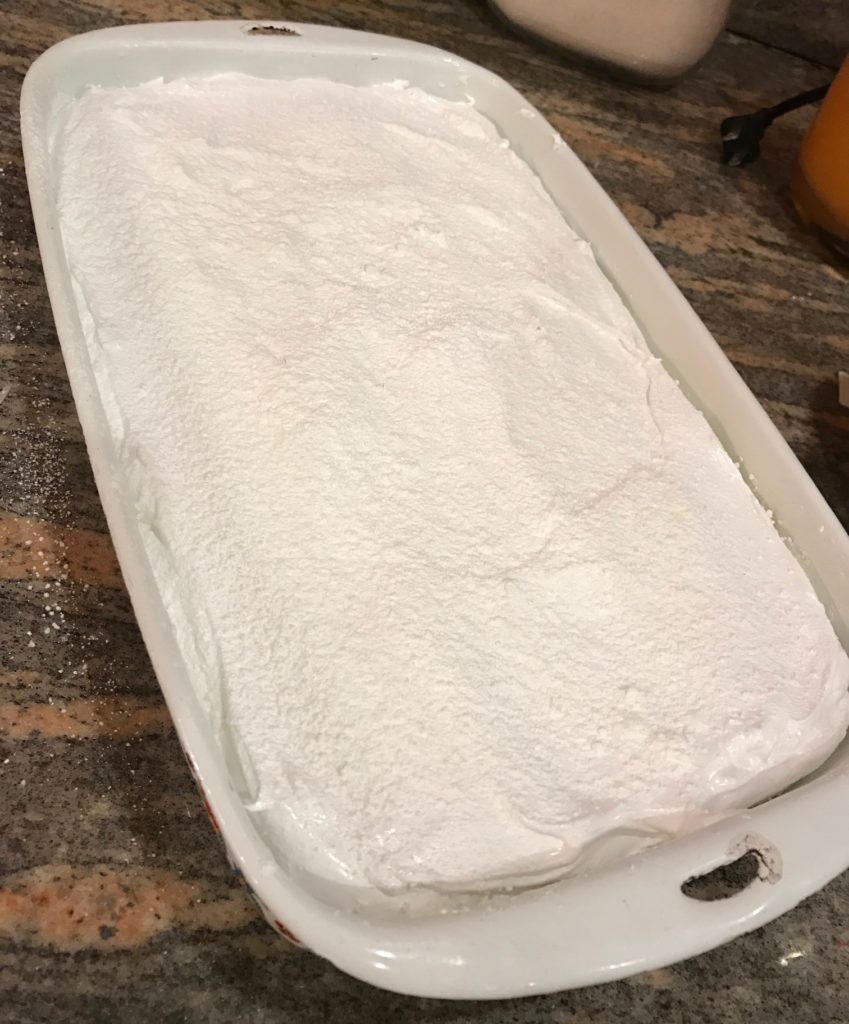
Pour or scoop the whipped marshmallow mixture (this is thick, sticky stuff!) into the prepared pan and smooth it out as best you can with an offset spatula (they work best if you happen to have one) coated lightly with cooking spray.
Dust the top with some of the cornstarch/sugar mixture, and let it sit for between 4 hours or overnight.
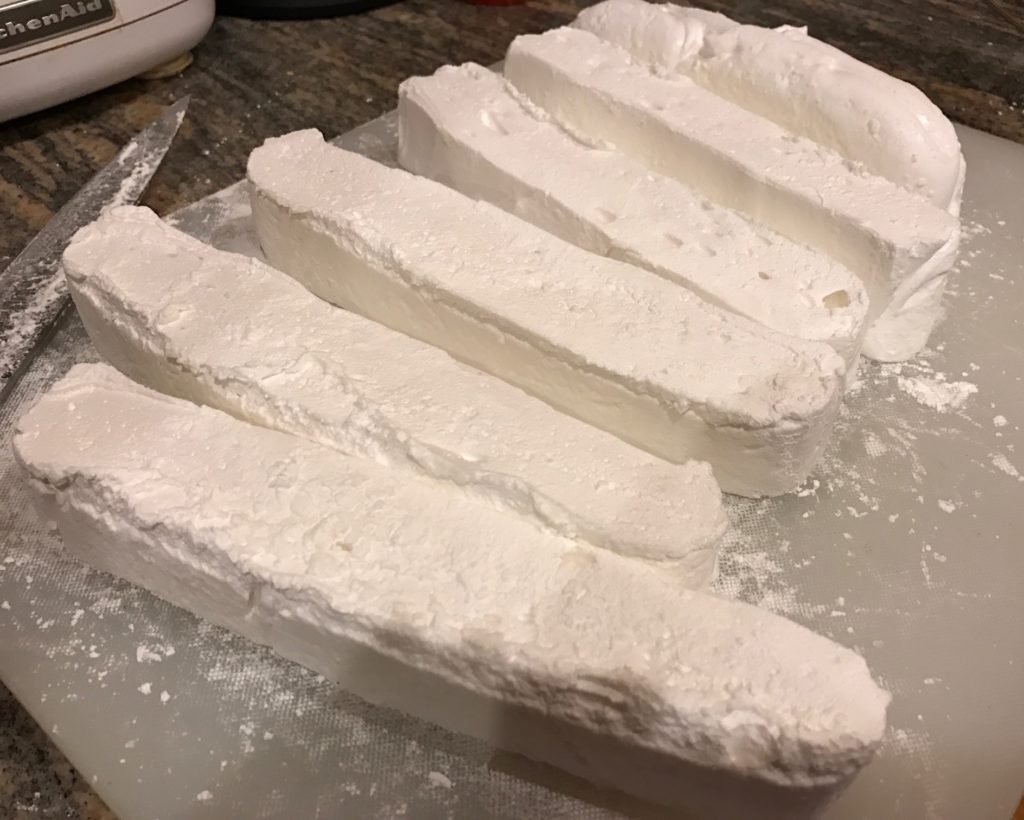
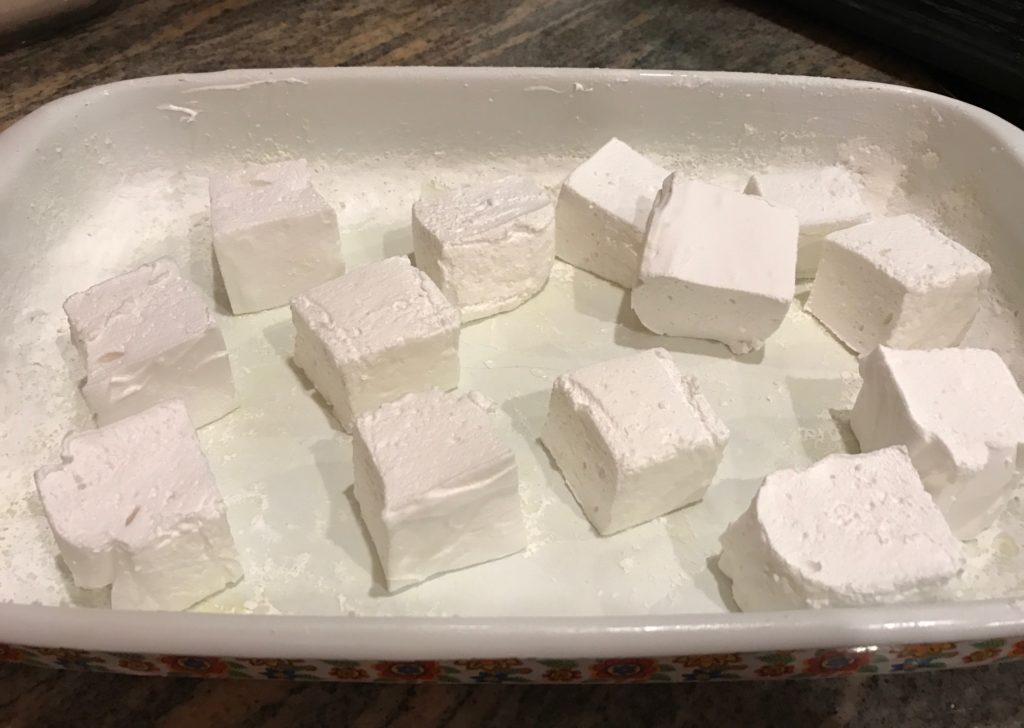
Once the mixture has set, turn out the marshmallow rectangle onto a cutting board. Use a pizza cutter or a carving knife to cut the marshmallows into one inch squares.
Dust them all around with the cornstarch/confectioner’s sugar mixture to keep them from sticking.
Store in an air-tight container for up to 3 weeks.
Here’s the recipe:
Ingredients
- 3 packets of gelatin (4 packets come in the box that I buy)
- 1 cup ice water
- 1 1/2 cups granulated sugar
- 1 cup light corn syrup
- 1/4 teaspoon kosher salt
- 1 teaspoon vanilla extract
- 1/4 cup confectioner’s sugar
- 1/4 cup cornstarch
- non-stick cooking spray
- In the bowl of a stand mixer, add 1/2 cup of ice water and sprinkle 3 packets of gelatin over the ice water.
- In a small saucepan, combine 1/2 cup of ice water, 1 1/2 cups granulated sugar, 1 cup of light corn syrup, and 1/4 teaspoon kosher salt. Cover and cook for 3-4 minutes over medium heat. Remove cover and clip a candy thermometer to the side of the pan and continue to cook till the thermometer reads 240 degrees F about 7-8 minutes.
- When the stove mixture reaches 240 degrees, turn the mixer onto low and pour the mixture down the side of the mixing bowl. Then increase the speed to high. Whip the contents for 12-15 minutes till they thicken, cool slightly and look like marshmallow fluff. One minute before the end, add 1 teaspoon of vanilla.
- While the mixture is being whipped, prepare the pan. Spray the bottom and sides with cooking spray. Then combine 1/4 cup each of confectioner’s sugar and cornstarch in a bowl, and use half of that to coat the bottom and sides of the pan.
- When marshmallow is finished whipping, pour or scoop it into the prepared pan and smooth it with a spatula sprayed with cooking spray to prevent sticking. Dust the top with the confectioner’s sugar/cornstarch mixture.
- Let the marshmallows sit for between 4 hours to overnight. Use either a pizza cutter or carving knife dusted with confectioner’s sugar/cornstarch mix to cut the marshmallows into 1 inch cubes. Dust all sides with the sugar/cornstarch mix to prevent them from sticking together. Store in an air-tight container for up to 3 weeks.
You can change up the flavor by adding peppermint flavoring instead of vanilla and putting crushed candy canes on top. Or dust the top with a cocoa/sugar mixture. Or change their color with natural food coloring. Use your imagination!
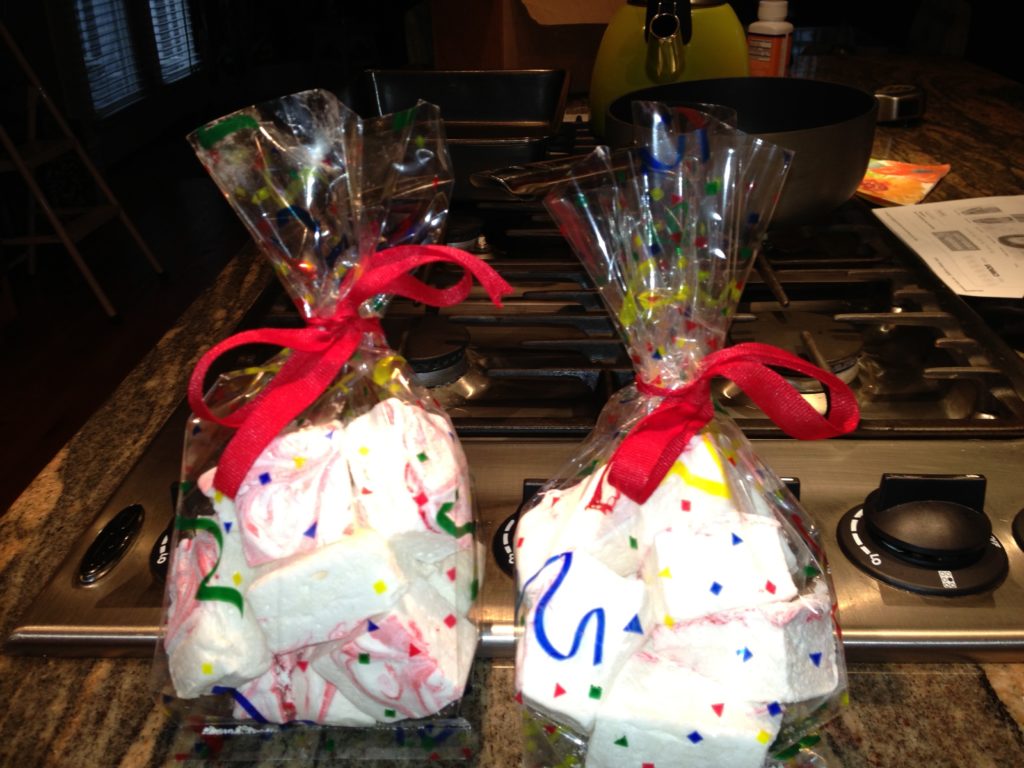
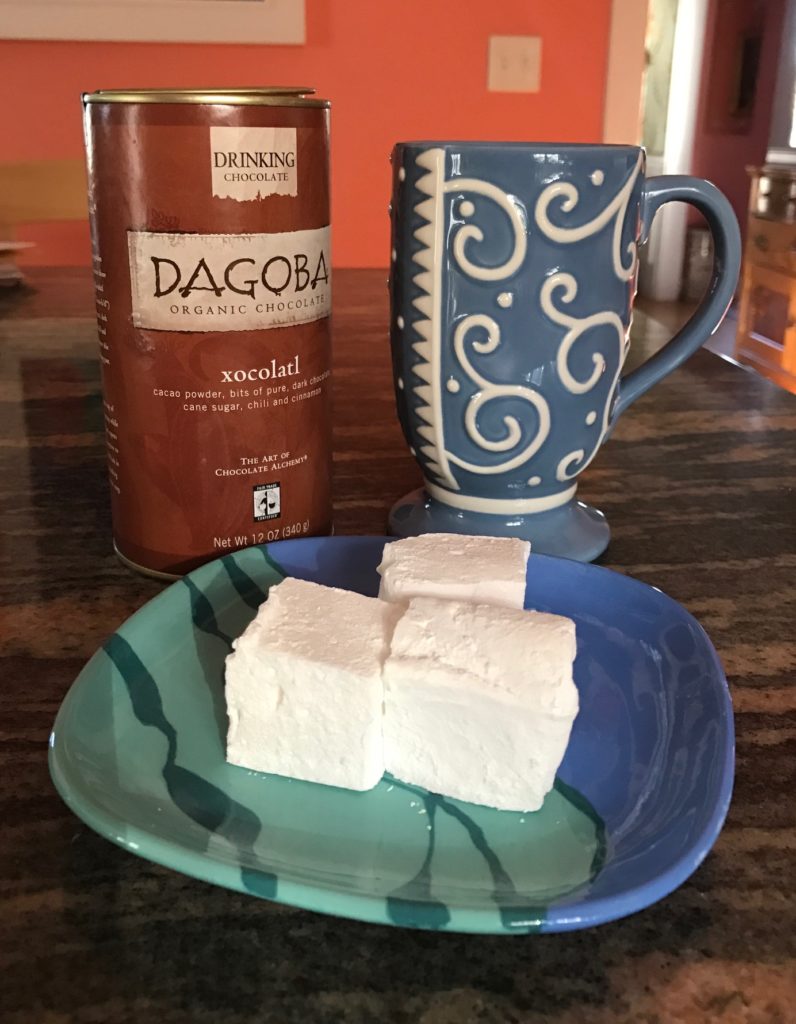
Enjoy them on their own or in hot chocolate! They make wonderful gifts.
Have you ever had homemade marshmallows? Have you ever made them? Would you try it?
I’m thinking I’ll take a few days off for the holiday, but I’ll be back again soon or sooner if I have extra time. Merry Christmas, Happy Hanukah, Happy Kwanzaa, or just plain Happy Holidays!






I’m guessing you’ll say no, but I feel compelled to ask. Have you ever tried this with a substitute for gelatin? Like maybe agar agar?
No, I haven’t! But frankly, I never thought of doing that since I’m not vegan. I remember years ago at a Science Fair making seaweed pudding with agar agar and it worked like a charm and gave sort of a rubbery (in a good way) consistency that’s like what you’d want in a marshmallow. I don’t know what the right amount of agar agar would be so you’d have to play around with it. The amount of gelatin is 3 tablespoons. If you do it and it works, please let me know! Thank you for reading my post and for your smart question! xo
I’m imagining that these are ten times the yumminess of store bought! I detest cooking/baking but I have some time off next week maybe I should break out of my comfort zone with these!
They are definitely at least 10 times better, Judy!
I LOVE making my own marshmallows!!!! I haven’t done it in 5 years but it was fun when I did it! I stuck mine on lollipop sticks and wrapped them up to give away!
Kat Dinges recently posted…Zoya Perfect Lipstick Collection
That’s such a great idea, Kat! I wouldn’t have thought of it. I’ll try it next time 🙂
These sound absolutely delicious! Definitely putting it on my to-make list for the next family get-together.
Anastasia recently posted…Tips & Tricks for a Frizz-Free Holiday Season
They’re fun to make and sooooooo delicious. Worth the effort!
I had homemade marshmallows once and couldn’t believe the difference. Once I’m back on my feet more I hope to try this out. I have a feeling I’ll destroy my kitchen but I’d love to try these.
MarciaF recently posted…Don’t stress out – shop The Body Shop for awesome last minute gifts!
I hope you’ll be back on your feet soon. I hadn’t made the marshmallows in a couple of years, but now that I have it really is quite doable and pretty easy! I need to buy more gelatin because the other packages I have expired in 2015. Now that I’ve made a batch I need more!
DELECTABLE!!!!!!!!!!! I completely agree with you that homemade marshmallows are better than anything from the grocery store! I have never made them myself, but I have definitely eaten them! Thank you so much for this recipe! I will definitely try it! <3
Lola Seicento recently posted…Miracle Products for Silky Smooth Skin and Feet from Baby Foot, Mirakle Cream and Bella Schneider Beauty
Yes! Once you’ve had homemade, you don’t go back. And they are so economical to make, I hate to have to pay the price to buy the handmade ones. I need some more gelatin, and then I think I’ll make a batch of peppermint marshmallows next. Hope you have the time to try to make them some day when you’re not so busy 🙂
This is so cool! I’ve actually never thought about making homemade marshmallows, but now I really want to!
Julie recently posted…Pink Eyeshadow Featuring L’Oreal
They’re like lovely sweet clouds! Definitely a fun thing to do as a family when your kids get older 🙂
Looks fun to make and what a “sweet” gift! Thanks for sharing!!
Cindy (Prime Beauty) recently posted…Introducing Geisha Bath and Body by Bali James
Can you send me some of these? ? I love marshmallows
Kath Thefabzilla recently posted…Hourglass Ambient Strobe Lighting Blush Palette
I would if the distance wasn’t so dang far!
I never thought I was much of a marshmallow fan, but I recently had handmade marshmallows and they were amazing. Now that I know the process isn’t too hard I would definitely try making them myself.
You should give it a try sometime, Bailey. It isn’t hard to do. I’m planning to make another batch this weekend. The difference between these and supermarket marshmallows is night and day