A couple of months ago, I did a post on DIY lipstick from a recipe I found on Beautylish. Finally, I got around to trying a version of it myself, and it was a cinch! It’s a fun activity to do with your daughter, granddaughter, a friend, or even by yourself. If there’s a lipstick shade that you’ve been dying to try but are not sure how it will look on you, make it yourself first.
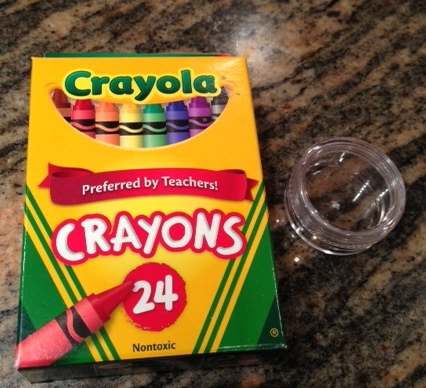
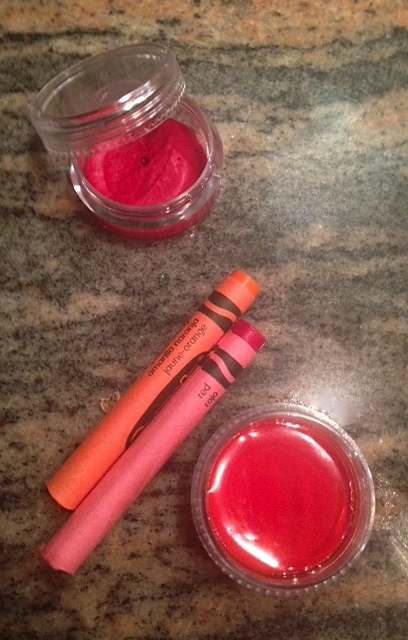
The lipstick/lip balm I made has just two ingredients — non-toxic crayons and coconut oil. I used Crayola crayons in the 24 pack. That gave me quite a few color choices, and it cost only $1.78. I used organic coconut oil that cost about $8 or so. You can also use the coconut oil on your skin, on your hair, and for cooking. If you don’t have coconut oil, you can use shea butter instead.
I bought a pack of 7 small round, stacking containers at The Container Store for $1.99.
That’s it for necessary materials.
The recipe is:
- one inch of crayon plus 1/4 tsp coconut oil for a more opaque, lipstick look or
- one inch of crayon plus 1/2 tsp coconut oil for a sheerer lip balm look.

Don’t forget to take the paper off the crayon!
For lighter shades, I definitely recommend going with 1/4 tsp because they are lighter and sheerer to begin with.
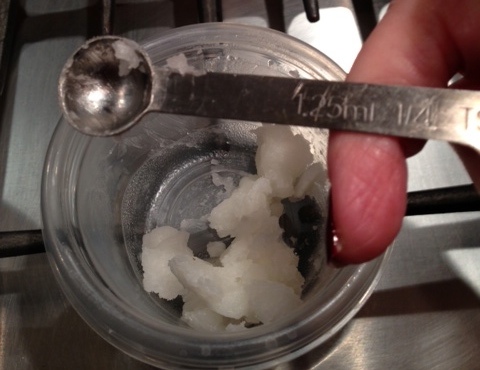
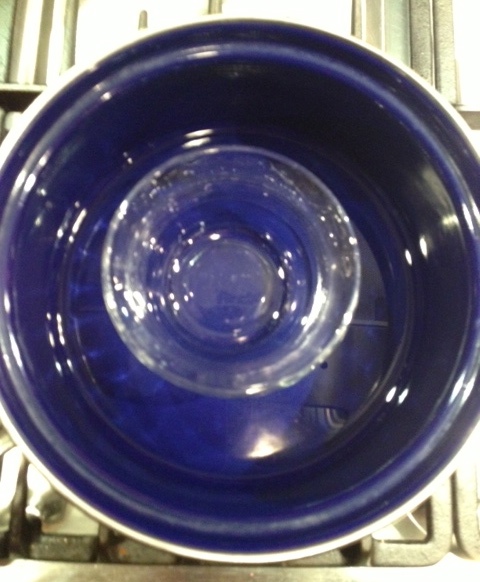
The easy way to do it is to get a one quart saucepan, fill it with about an inch or so of water. Place a pyrex cup/bowl (the size you would use if you are making pudding) in the saucepan. Use a toothpick as your stirrer.
Put the burner on medium-low heat. Cut off as much crayon as you want. I used about an inch to make a small amount since I have a million lipsticks, but you can use as much as you like and adjust the amount of coconut oil. Put the crayon piece in the pyrex cup along with the coconut oil. It takes less than a minute for the crayon and coconut oil to melt. Use the toothpick to mix it together.


While it’s still in liquid state, pour it into your container. Unfortunately, I got a bubble when I poured it into 3 out of 4 containers. Gotta see if I tilt the container whether I can avoid that. Let me know if you have a fix for it. It doesn’t really matter unless you’re making it for a gift.
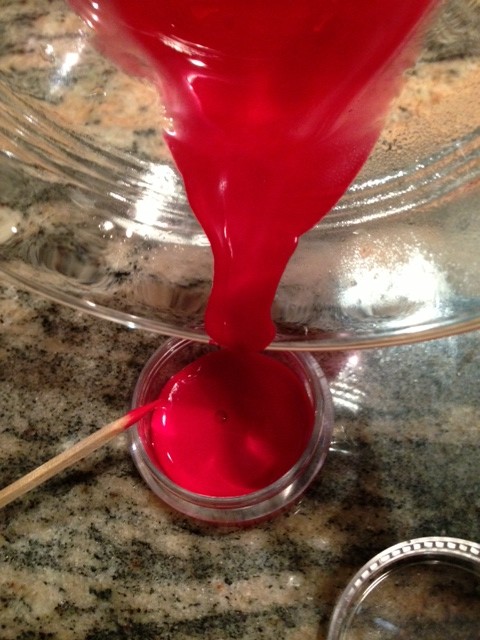
It will harden in about a minute. Voila!
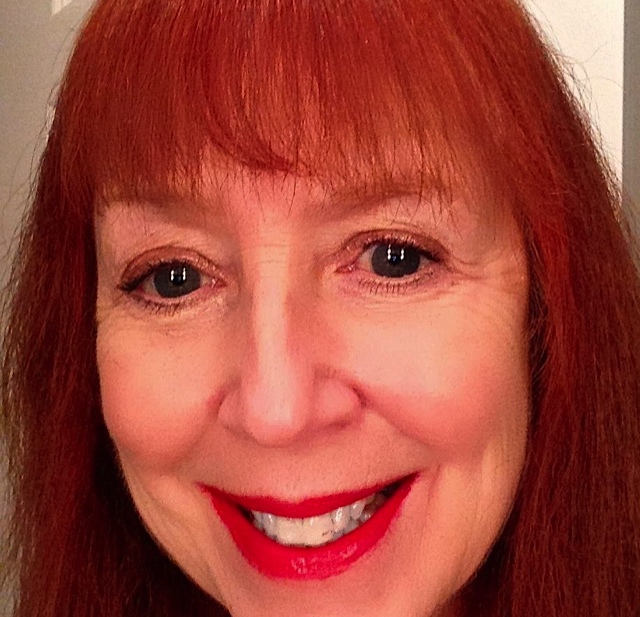
I made a cherry red from the red crayon on its own. I discovered it’s better to apply it with a lip brush rather than a finger. In this pic, it kinda migrated beyond my lip line a bit, and got on my teeth. After that mistake, I used a brush when applying the other shades.
Next, I mixed cherry red with orange (amarillo naranja/joune-orange) and created a beautiful coral shade using a half inch of each crayon (the one on the bottom of the photo).
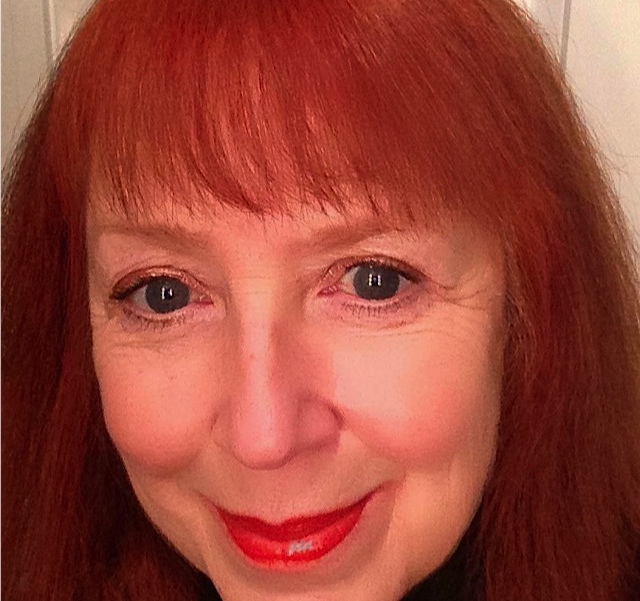
Then, I tried making a wearable nude with a flesh tone/pale orange crayon and hot pink: 3/4 inch flesh tone:1/4 inch pink. It looks pinker in the pot than on the lips. Pretty and doesn’t make me look dead like some nudes do. (Plus I got my hair cut!)
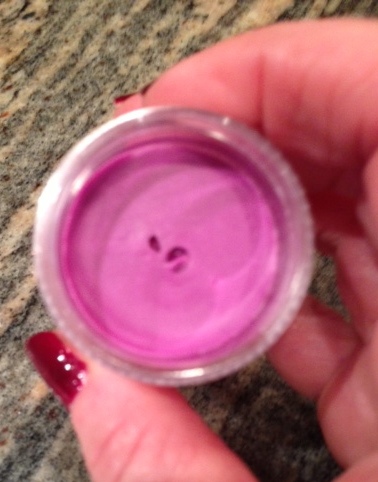
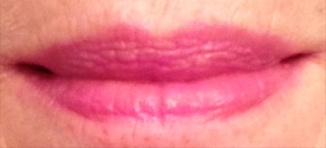
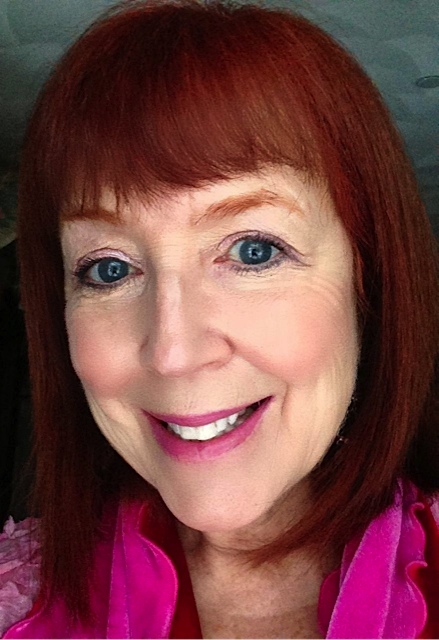
Finally, I made my version of Pantone’s Color of 2014, Radiant Orchid: 3/4 inch purple with 1/4 in hot pink. Love it! It inspired me to do a pink and purple eye look and dig out my scarf that’s radiant orchid and red.
So if you’ve been dying to try purple lipstick or even blue, here’s your chance without spending a lot of cash! You can make several different shades in less than 10 minutes. No kidding. And clean up is easy. Just wash out the pyrex cup.
Give it a try, and let me know what shades you create! 🙂
ADDENDUM: I recently heard from Crayola that they don’t condone using Crayola crayons in this manner because, even though they are rated nontoxic, they have not been tested for this usage. So if you decide to make the lip balm, you are doing so at your own risk.


Wow. So much fun.
It was, Sue! I didn’t make the wild colors like blue or black that we talked about when I first posted the recipe a few months ago…but if you and I get together one of these days, we can 😉
That is awesome – the colors came out looking great!
Thanks so much, Sheila! I thought they came out very well. And it was fun to do 😀
This is really neat! Does it taste like crayon on your lips or does the coconut oil mask the crayon taste?
Alice, great question! I didn’t taste the crayon at all. There is a faint taste and scent of the coconut oil, but not much to speak of…much less than scented lipsticks. If feels very nice on, like a balm. Hope you enjoy it if you try it!!
What a fun creative concept. I love it!
Thanks for your comment, and I hope you give it a try 🙂
Ha! That’s great! What a fun project and who knew you could use a crayon for lip gloss.
Monica
MonicaP recently posted…Swimming helps a young arthritic dog
Yes, it is and Yes, you can, Monica! It was really fun to do, and now I have 4 more lip balms. Give it a try someday 🙂
I love the colors! Great choices! Thanks for sharing.
Shalunya recently posted…Sunday Scores and Steals
Thanks, Shalunya, for stopping by and commenting. It was a fun project 🙂
Well that’s an interesting project! Thanks for sharing, and love your hair cut!
Tina @ My Highest Self recently posted…Beauty Box 5 for January 2014 – What’s in the box?
Thanks, Tina!
Great colors! The radiant orchid is absolutely beautiful on you! It should be your go-
to-color.
janeintx
Thank you, Jane! I never wore an orchid shade before, but maybe it will become my go-to color, or at least a more frequent color in my rotation 🙂
I LOVE how they turned out!! I think I’m going to raid my little guys crayon box and try making them too :)!
Savannah miller recently posted…Campus Book Rentals
Thanks for your comment, Savannah. I love that you’re going to try it with your son’s crayons 😉
I love this idea. I especially loved the last color, the orchid. What a fun project.
Thank you, Amy! Yes, I think the orchid is turning out to be the winner!
I love this. You made some wonderful shades.
I was wondering, how well does it wear? Do you have to apply it often or once in a while? Does it stain if you get it on clothing? Thanks for letting me know.
Margarita, thank you! It wears fairly well, meaning for a few hours. It’s essentially a highly colored lip balm. I use a lip brush to apply it rather than fingers. I have no idea if it stains if it gets on your clothes because I’ve never done that! Like most lipsticks, it doesn’t last through a meal, you have to reapply. However, as it wears during the day, it does leave some color on your lips. I wouldn’t say it replaces your lipstick but it’s a fun craft project that is inexpensive, super easy, and it makes great little gifts. 🙂
I saw the tutorial on Beautylish as well, and have been hanging to try it. Thank you for sharing your experience, you’ve motivated me to pull my finger out and give it a red-hot go.
Sara-May, it is a cinch to do. My recipe is even easier than the Beautylish recipe because there are only 2 ingredients! Each shade took me less than 3 minutes to make, start to finish 😉
That’s freaking brilliant! I MUST do this!
Yes, you must, Ann! It’s so much fun and a cinch to do. Let me know how it works out for you! and thanks for your comment 🙂
That’s just so genius! Great idea, thanks for sharing!
Muilo Burbulai
I hope you try it! If you do, let me know how it worked out 🙂 Thanks for stopping by!
You just gave me a great idea , to try this with my little sister. She loves creative workshop activites.
This is a fun and easy project, Tierra! If you and your sister take it on, let me know how it works out for you. Thanks for reading and commenting!
I’ve actually seen this concept around before and I think it’s really cool! Imagine all of the unique colors you can create. Yours turned out really great! I think I need to give this a shot myself. 🙂
Yes, it’s been around for a while, and I made them last year at this time. It was easy and fun 🙂
I’ve always wanted to try this out, would be cool to be able to make my own lip colours 🙂
It’s so easy! It takes just a few minutes. And it’s fun too 🙂
I saw a recipe that said you could add vanilla, have you tried that? If so how much does a gal add? If not, how much do you think I should add? haha
Gee, Maggie, that’s an interesting idea. I would just add a couple of drops of vanilla especially if you’re making a small amount. I haven’t made the DIY lip balm since I posted that post back in 2014. I can’t believe that was 7 years ago. Anyway, if you try the vanilla and you think it works, would you let me know? Thanks!!